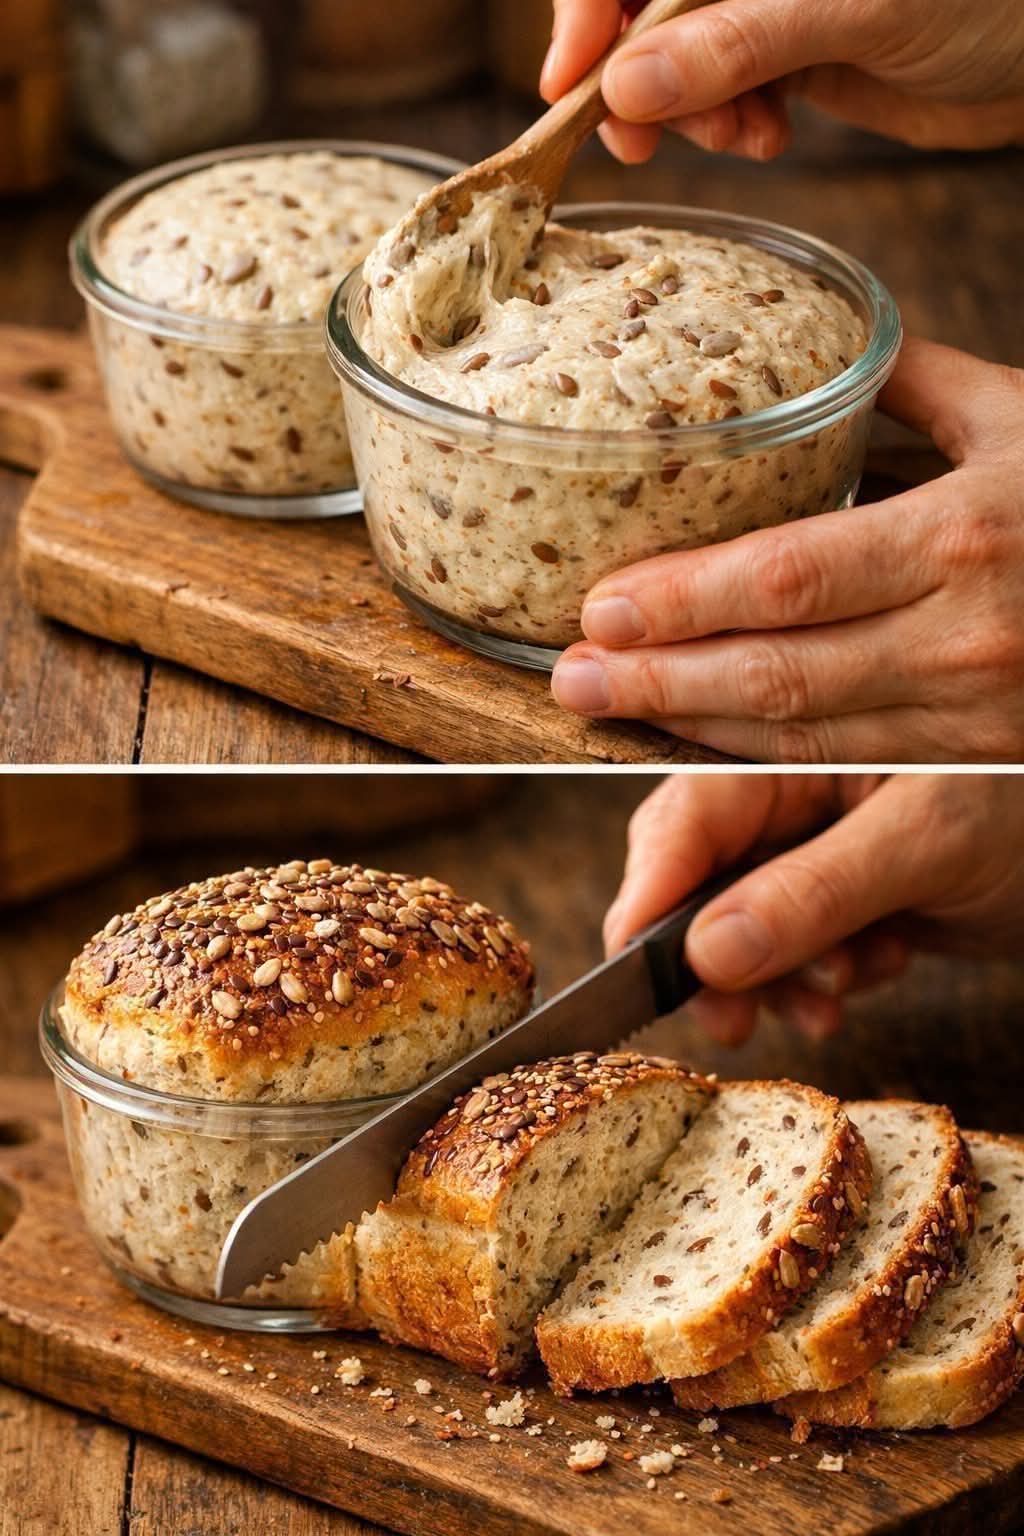
Bread in a jar in just minutes! 😍
No white flour.
No yeast.
No added sugar.
And only 3 simple main ingredients.
This is one of those recipes that completely changes the way you think about homemade bread.
It’s quick, simple, hearty, and packed with seeds that give every slice a wonderful nutty flavor and satisfying texture.
I started making this when I wanted something bread-like without reaching for traditional white flour.
The first time I made it, I honestly wasn’t expecting much.
Then I sliced it.
It held together beautifully, smelled amazing, and had that satisfying texture I was looking for.
Now it’s one of those recipes I keep coming back to whenever I want something simple and homemade.
🌻 If you want me to keep sharing simple, wholesome recipes like this, leave a “YUM” in the comments and save this recipe!
🥣 THE 3 MAIN INGREDIENTS
🌾 1. Oat flour — 1 cup
Use certified gluten-free oat flour if you need to avoid gluten.
You can also make your own by blending rolled oats until finely ground.
🌻 2. Mixed seeds — ½ cup
Use any combination you enjoy:
- Sunflower seeds
- Pumpkin seeds
- Flaxseeds
- Sesame seeds
- Chia seeds
🥚 3. Eggs — 2 large
Eggs help bind everything together and give the bread structure.
💧 Additional Basics
Although the recipe has 3 main ingredients, you’ll also need a little liquid to achieve the right consistency.
Use approximately:
- ¼–½ cup water or milk, as needed
- A pinch of salt, optional
- ½ teaspoon baking powder, optional
The exact amount of liquid depends on the type of flour and seeds you use.
🫙 HOW TO MAKE BREAD IN A JAR
Step 1 — Prepare your jar
Use a heat-safe ovenproof jar or small baking dish.
Do not use an ordinary glass jar unless it is specifically designed for baking or high heat.
Lightly grease the inside.
This helps the bread release easily after baking.
🌾 Step 2 — Mix the dry ingredients
Add the oat flour and mixed seeds to a bowl.
Stir them together.
Add a small pinch of salt if desired.
If you’re using baking powder, add it now.
Mix everything thoroughly.
🥚 Step 3 — Add the eggs
Crack the eggs into the mixture.
Stir well.
The mixture will initially be quite thick.
Slowly add your water or milk.
Start with a small amount and add more only when needed.
You want a thick batter that is moist but not watery.
🫙 Step 4 — Fill your baking container
Transfer the mixture into your heat-safe jar or small baking dish.
Don’t fill it all the way to the top.
Leave some room for the bread to rise.
Smooth the surface with the back of a spoon.
Sprinkle a few extra seeds over the top if you like.
🔥 Step 5 — Bake
Preheat your oven to approximately 180°C / 350°F.
Bake until the bread is firm in the center and lightly golden on top.
Depending on the size and shape of your container, this can take roughly 20–30 minutes.
Because containers and ovens vary, check the center with a toothpick or skewer.
If it comes out without wet batter, it’s ready.
Allow it to cool before slicing.
✨ THE SECRET TO GOOD TEXTURE
The most important part of this recipe is getting the moisture right.
Too much liquid can make the bread dense or gummy.
Too little liquid can make it dry and crumbly.
Add the liquid gradually.
And remember:
The batter should be thick and moist, not runny.
🌻 WHY SEEDS MAKE THIS BREAD SPECIAL
Seeds add more than just crunch.
Depending on the seeds you choose, they can contribute:
- Fiber
- Protein
- Unsaturated fats
- Minerals
- Different textures
- Nutty flavor
For example, flax and chia seeds can absorb liquid and help create a thicker texture.
Sunflower and pumpkin seeds provide crunch.
Sesame seeds add a rich, toasted flavor.
That’s why combining several types of seeds makes every bite interesting.
📜 A LITTLE HISTORY OF SEEDED BREAD
Seeded breads have a long history across many food traditions.
Long before modern packaged breads became common, people made breads from grains, seeds, nuts, and other locally available ingredients.
Seeds were particularly useful because they could be stored for long periods and added flavor and texture to simple staple foods.
Different regions developed their own versions using ingredients available locally.
Today, seeded breads remain popular because people enjoy their hearty texture and nutty flavor.
This simple recipe follows the same basic idea:
Use humble ingredients and turn them into something nourishing and satisfying.
🌱 PRACTICAL BENEFITS
This homemade bread can be useful when you’re looking for an alternative to traditional white-flour bread.
No white flour
The recipe uses oat flour instead of refined wheat flour.
No yeast
There’s no yeast fermentation or proofing process.
No added sugar
There is no need to add sugar to the basic recipe.
Easy preparation
The batter comes together quickly.
Customizable
You can change the seed combination depending on what you have.
Filling
The combination of oats, seeds, and eggs can make a satisfying snack or breakfast.
Nutritional content varies according to the exact ingredients and portions used.
🥑 HOW TO SERVE IT
This little bread is incredibly versatile.
Try it with:
🥑 Mashed avocado
🥚 Scrambled eggs
🧀 Cheese
🍅 Tomato and herbs
🥜 Nut butter
🍓 Fresh berries
🍯 A little honey
🥣 Hummus
🐟 Tuna or salmon
🥗 Soup or salad
For breakfast, toast a slice and add avocado and a poached egg.
For lunch, use two slices to make a simple sandwich.
Or simply spread it with butter while it’s still slightly warm.
🌻 FOR THE LOVERS OF CRUNCHY BREAD
If you love bread with texture, don’t be shy with the seeds.
Try a combination of:
Pumpkin + sunflower + sesame + flax.
Toast the seeds lightly before adding them if you want an even deeper nutty flavor.
Just be careful not to burn them.
A little toasting can make a huge difference.
🧑🍳 EASY VARIATIONS
🧄 Savory Herb Bread
Add:
- Dried oregano
- Garlic powder
- Black pepper
- Rosemary
Perfect alongside soup.
🧀 Cheesy Seed Bread
Add a little grated cheese to the batter.
The result is richer and more savory.
🌶️ Spicy Bread
Add chili flakes and a pinch of paprika.
🍌 Breakfast Version
For a sweeter variation, you can add mashed banana or another naturally sweet ingredient and adjust the liquid accordingly.
This changes the recipe from the basic three-ingredient version.
❄️ STORAGE
Allow the bread to cool completely.
Store it in an airtight container in the refrigerator.
For longer storage, slice it and freeze individual portions.
Then simply thaw or toast a slice whenever you want a quick homemade breakfast or snack.
❤️ WHY I LOVE THIS RECIPE
What I love most isn’t that it’s complicated.
It’s the opposite.
You mix a few ingredients.
You put them into a baking container.
You bake.
And suddenly you have homemade bread sitting on your counter.
No complicated kneading.
No waiting for dough to rise.
No yeast.
No white flour.
Just simple ingredients and a little time.
🌻 FINAL THOUGHTS
Sometimes the best recipes are the ones that make life easier.
This seeded bread is simple enough for a busy morning but delicious enough to make again and again.
It’s hearty.
It’s customizable.
It’s full of texture.
And it’s a great option when you’re looking for something different from traditional white-flour bread.
Make it once, experiment with your favorite seeds, and you’ll quickly discover your own favorite combination.
🌻 If you want me to keep sharing simple recipes like this, leave a “YUM” below!
Save this recipe, share it with someone who avoids white flour, and come back when you’re ready for the next easy homemade recipe. ❤️
#SeededBread #HealthyRecipes #EasyBread #NoYeastBread #NoSugarRecipes #NoWhiteFlour #HomemadeBread #HealthyBreakfast #EasyRecipes #SimpleRecipes #BreadLovers #HealthyFood #HomemadeRecipes #GlutenFreeOptions #FoodLovers